This page was last updated on Wednesday, 10-Oct-2012 12:13:23 CDT
Installing AFS on 64-bit Windows 7
- Download the AFS installer. Version 6.0104 does not work, so use this earlier version.
Right click and save it to your desktop or elsewhere if you prefer:
64-bit version: openafs-en_US-64bit-1-6-0002.msi
32-bit version: OpenAFSforWindows-1-6-0002.exe
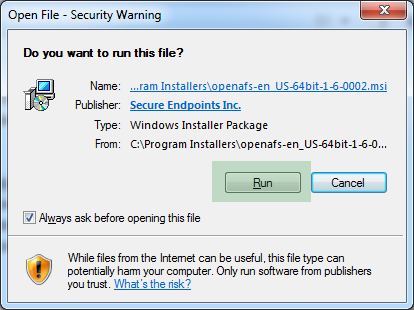
- Run this installer by double-clicking it, or select run from download window
- Click Run
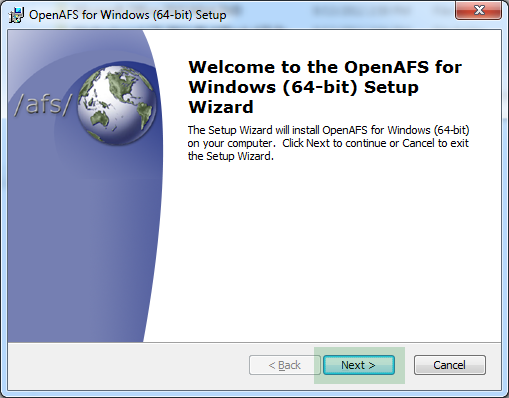
- Click Next
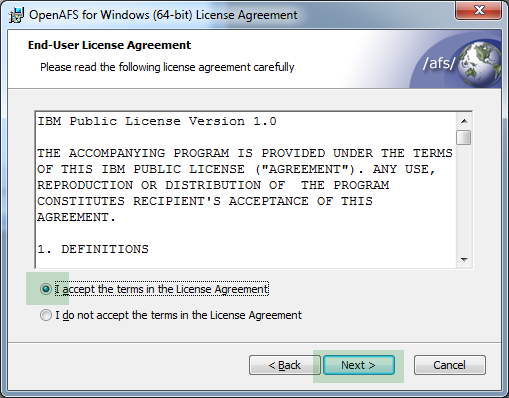
- Accept, and click Next
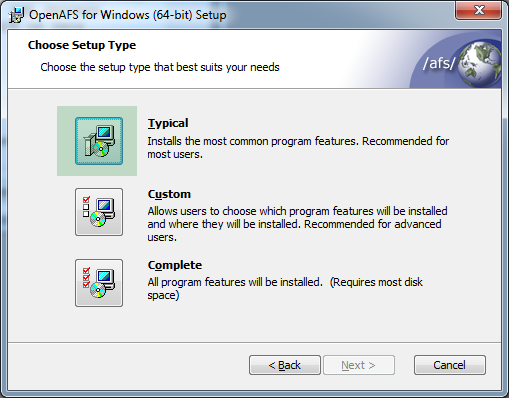
- Click Typical
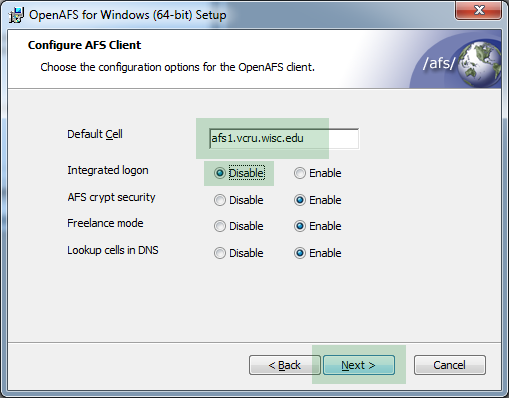
- Enter default cell afs1.vcru.wisc.edu, disable integrated login, and click Next
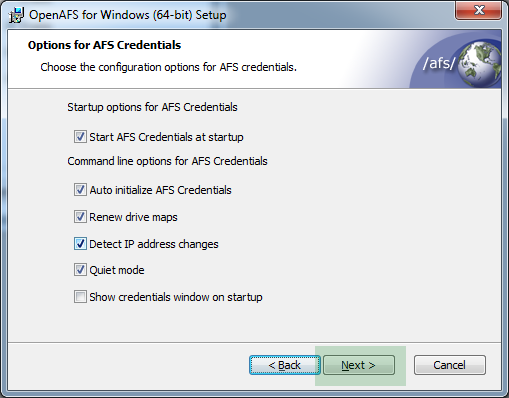
- Click Next
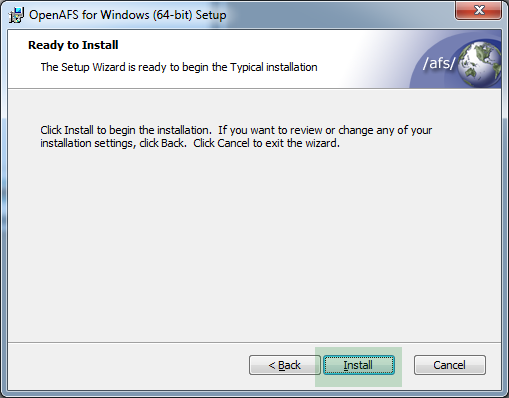
- Click Install
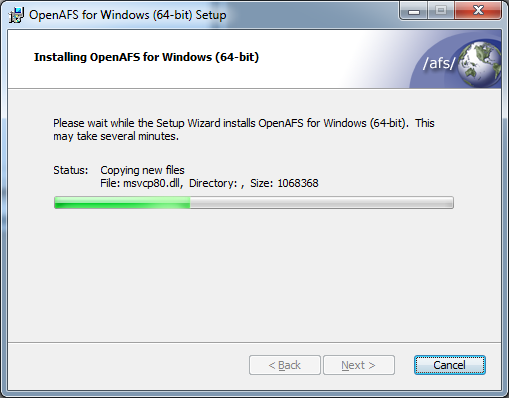
- Allow install with User Account Control dialog, then wait...
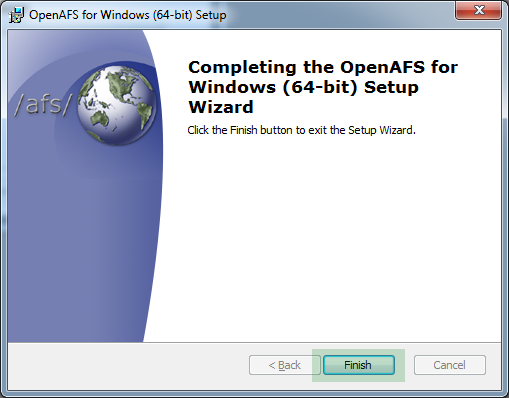
- Click Finish
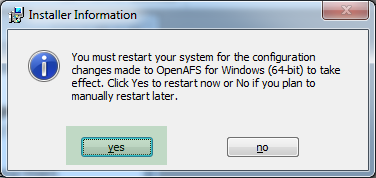
- Click Yes to restart computer (save any open files first!)
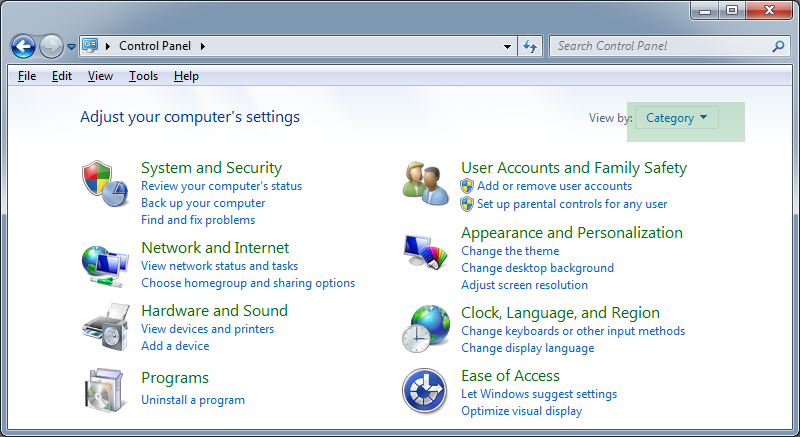
- Go to control panel. Change "View by:" to "Small Icons"
- Click on "AFS Client Configuration", then "Yes" for User Account Control dialog
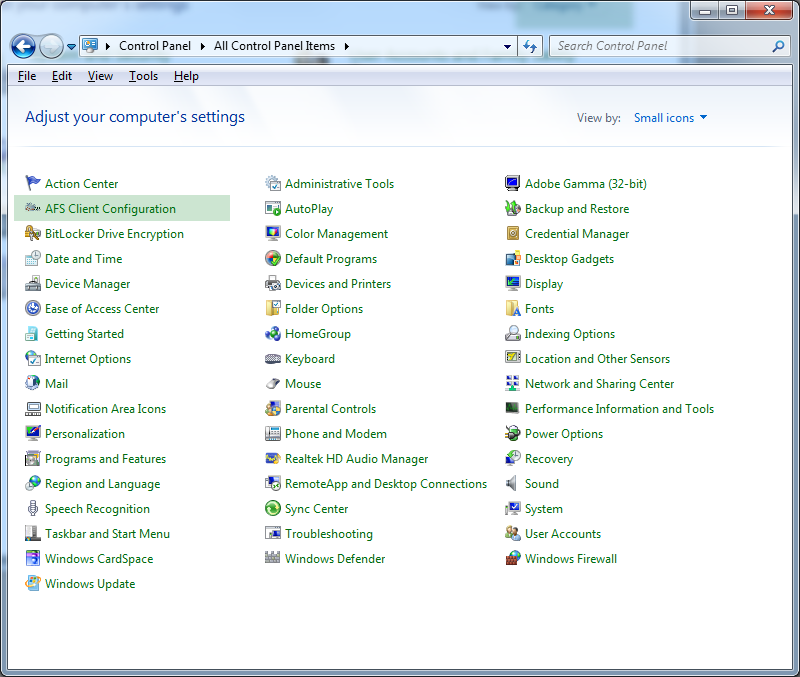
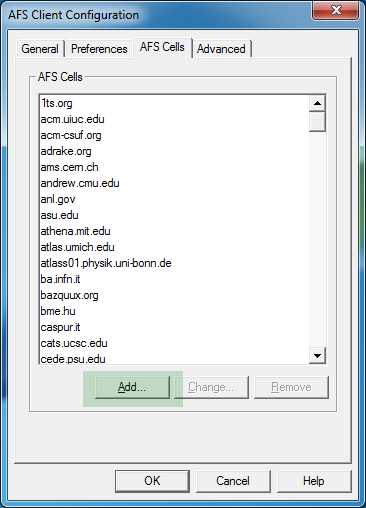
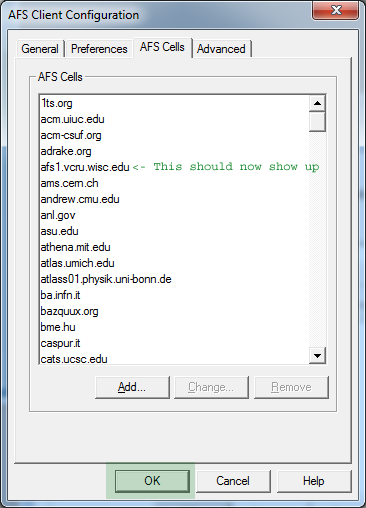
- Confirm that cell name is afs1.vcru.wisc.edu, then click on "AFS Cells" tab

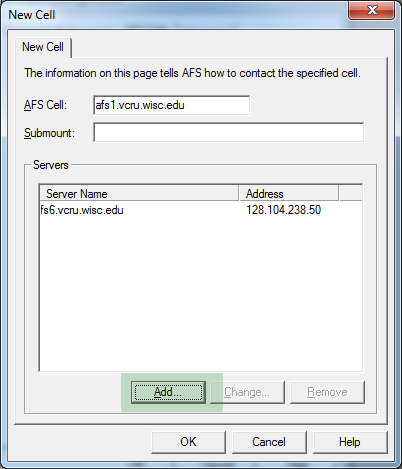
- Click "Add"
- For "AFS Cell", type in afs1.vcru.wisc.edu, then click on "Add"
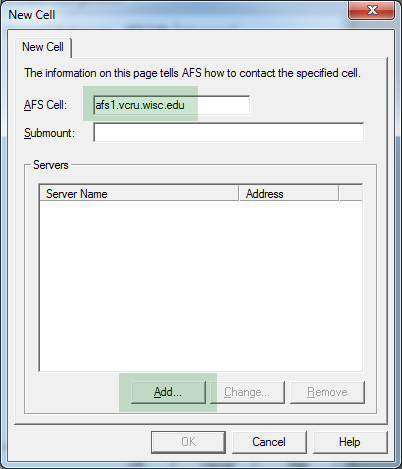
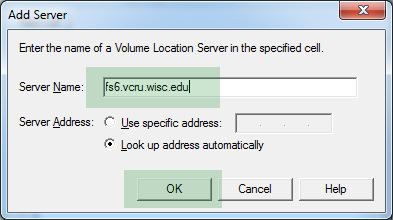
- For "Server Name", type in fs6.vcru.wisc.edu, then click on "OK"
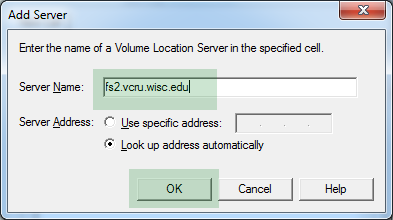
- Click on "Add" again
- For "Server Name", type in fs2.vcru.wisc.edu, then click on "OK"
- Click on "OK"
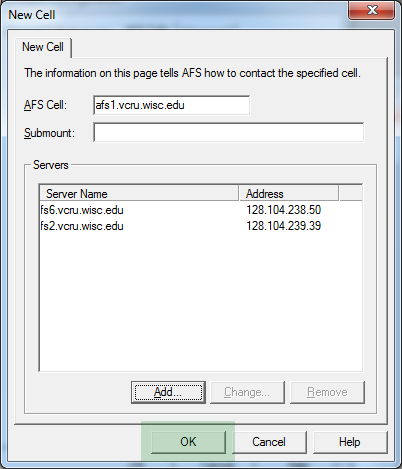
- Window should now look like this, click on "OK"
- Restart your computer a second time now
- AFS Dialog should show up automatically, enter your AFS user name and password.
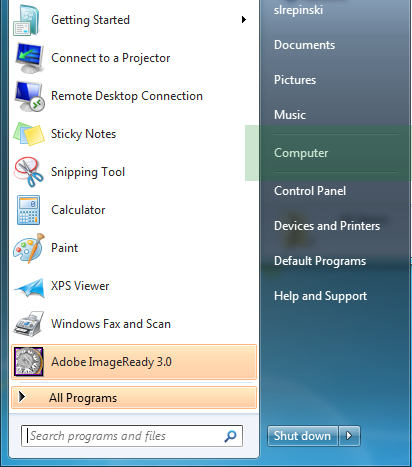
- In Start menu, Right click on "Computer" and select "Map network drive"
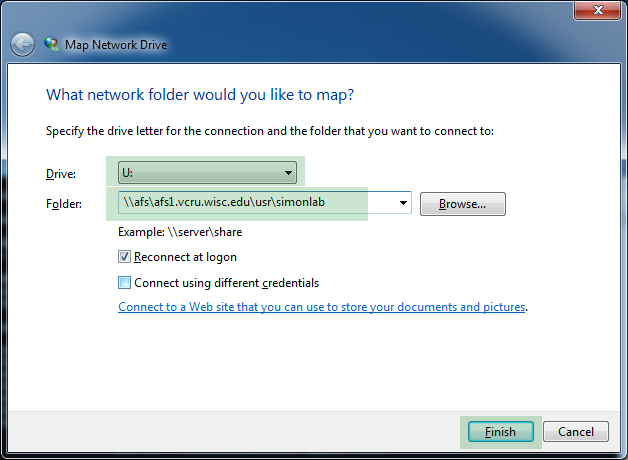
- Select an available drive letter, and enter you lab's path as shown in this example. Then click on "Finish"
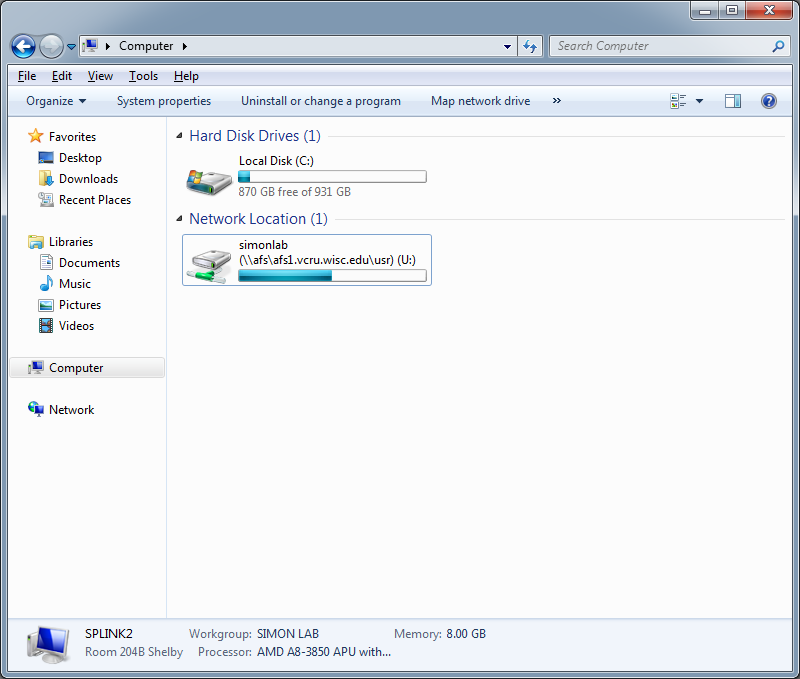
- This should be the result